
The 5-Step Guide to Running Your Restaurant’s Socials

Content creation isn’t just for influencers. Your guests are snapping dishes, your competitors are dropping reels, and even your suppliers are posting behind-the-scenes.
To actually stand out, it is essential to be deliberate with what you post.
Unless you're one of the lucky few restaurants with a cult following so loyal they’d ‘heart’ a picture of a dish sponge, crafting content that actually makes an impact takes effort. The worst thing you can do? Post for the sake of posting. A low-effort feed won’t get people excited about booking a table.
Instead, focus on high-quality, engaging content—even if that means posting less often. A strong, well-thought-out post twice a week will do way more for your brand than five rushed, forgettable ones.
Here’s how to actually make your socials work for you, rather than feeling like another item on your never-ending to-do list.
Step 1. Nail Your Brand Pillars
Before you start posting, you need to figure out what you want to be known for. These are your brand pillars—essentially, the themes that should drive every piece of content you create.
If you’re feeling stuck, scroll through a few of your favourite restaurant accounts. What are they posting about consistently? That’s their version of brand pillars.
Every restaurant is different, but here’s an example to break it down:

40% Signature Dishes & Drinks
The reason people come to your restaurant in the first place. Show them what’s on the menu.
20% Lifestyle & Brand Story
The aesthetic of your venue, your brand values, and what makes your restaurant unique.
20% Promotions & Updates
New menus, events, happy hours, and anything else people need to know about.

10% Guest Experience & Community
Customer testimonials, UGC (user-generated content), and the overall vibe of your space.
10% Behind the Scenes
Give people a peek behind the curtain. Kitchen action, chef stories, the reality of running a restaurant.
Step 2: Brainstorm Content for Each Pillar
Now that you know what you’re focusing on, map out specific post ideas for each pillar. This will make your life so much easier when it’s time to create content.
Examples:
Signature Dishes & Drinks
Reel of the Head chef demonstrating how your signature dish is made - voiceover of chef talking about the produce and cooking methods
Behind the Scenes
Reel - A "Day in the Life" of the head bartender, setting up the bar, happy hour rush, close down, lights off.
Guest Experience & Community
Carousel of recent guest reviews
Lifestyle & Brand Story
Aesthetic professional imagery of your interiors and tablescapes
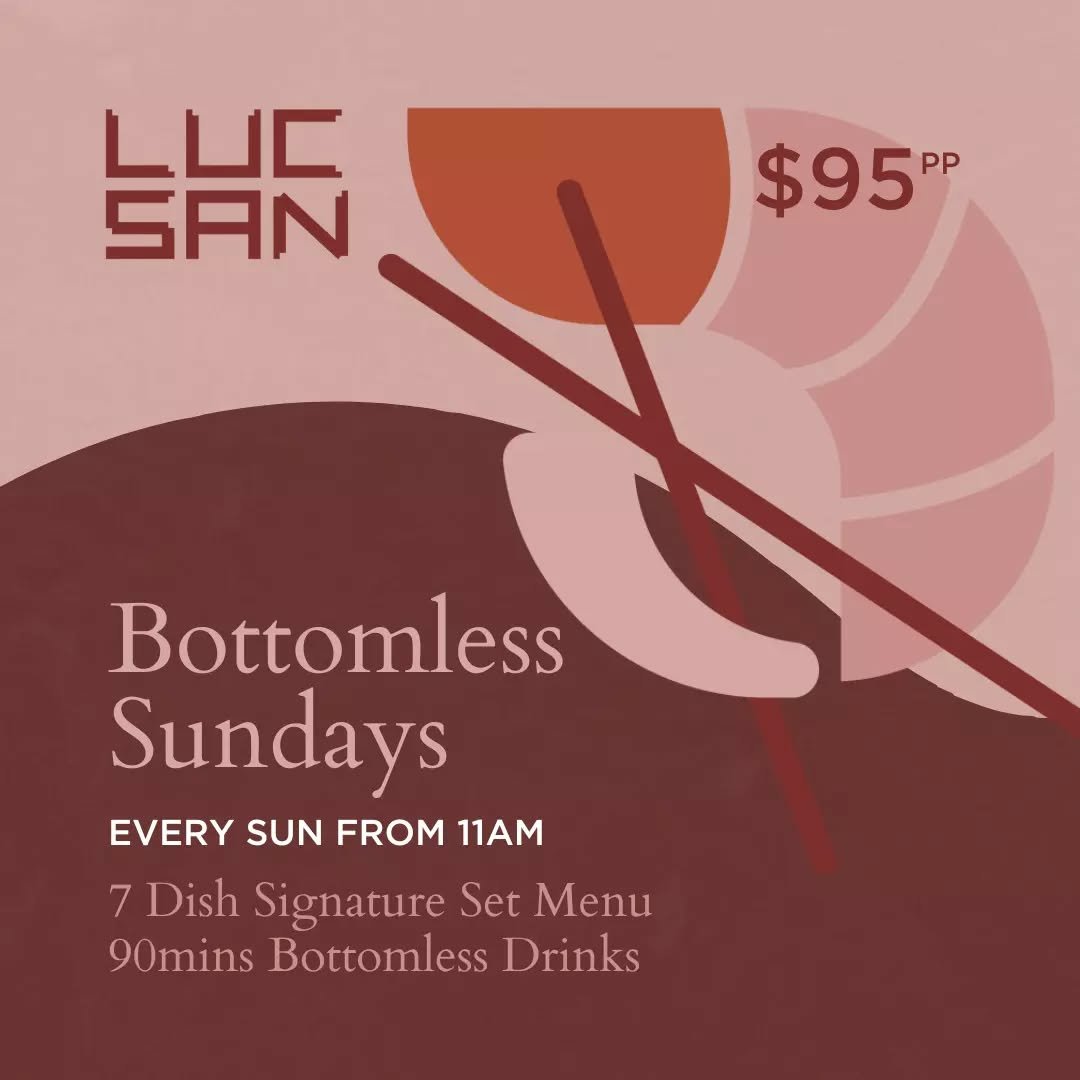
Promotions & Updates
Reel - A teaser of what’s on the menu for your special Valentine’s Day set menu
If you do this once a month, you’ll have a list of ideas to pull from, rather than scrambling to come up with something every day.
Step 4: Map Out Your Calendar & Start Posting with Purpose
Once you have your content, the next step is planning when and what to post. A basic content calendar will help you:
Spread out your content pillars
Spread out different types of posts so your feed doesn’t feel repetitive
Stay consistent without burning out
Plan around key dates (seasonal changes, new menu drops, events)
Before you draft your post, ask yourself:
What’s the goal here? Am I educating, inspiring, or entertaining?
Does this make sense for my brand? Would people recognise this as my restaurant even without a logo?
Is there a clear action I want people to take? (Book a table, comment, share, tag a friend)
Step 3: Plan Your Photoshoot & Get the Right Content
Ever tried to post something and realised you have zero content? That’s where planning a shoot comes in.
What to Cover in a Content Shoot:
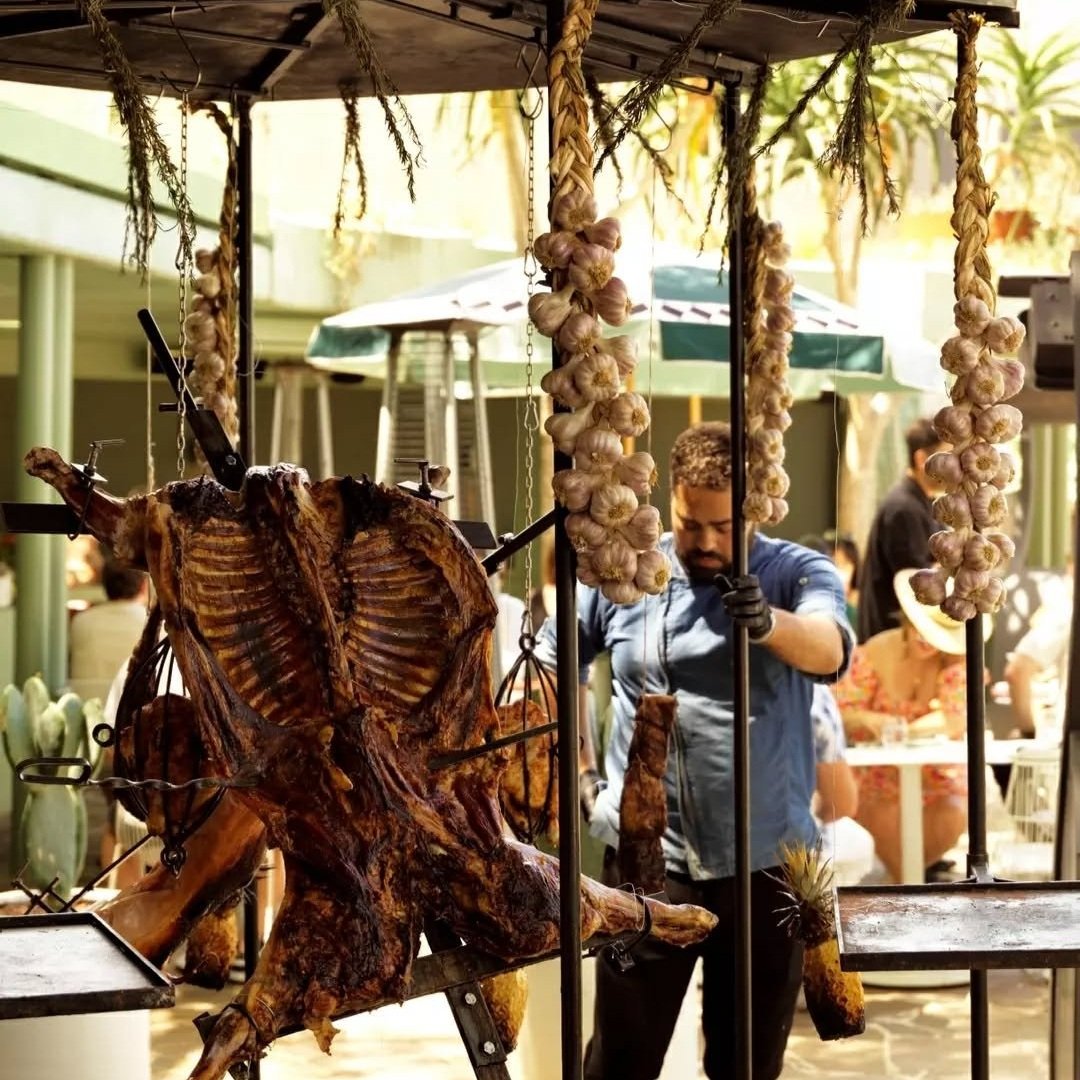
Your top dishes, beautifully plated
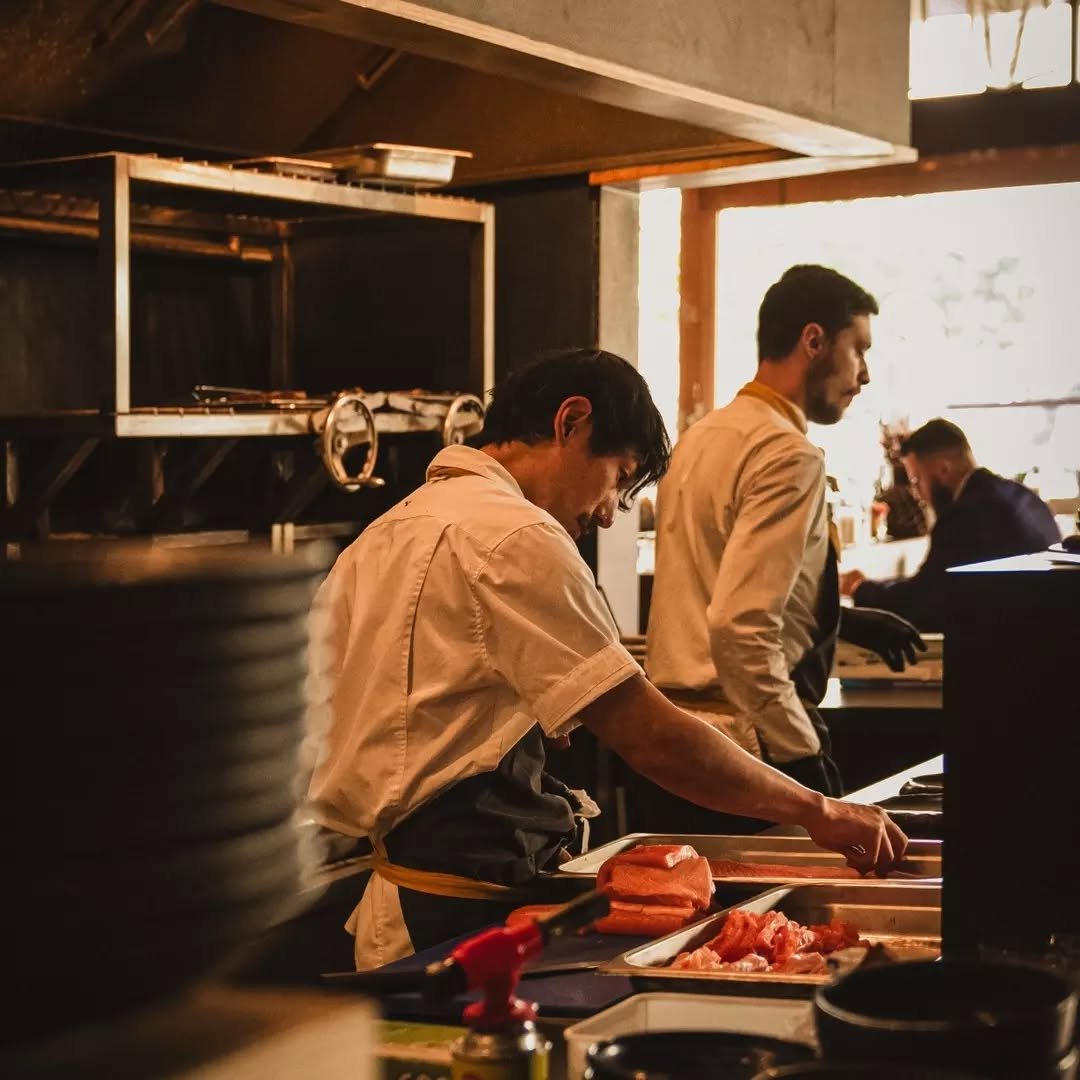
Team shots (chefs at work, bartenders pouring drinks)
Interiors and exteriors, capturing the ambiance
Lofi B-roll of food in motion (sizzling, pouring, slicing)
Seasonal menu highlights or upcoming promos
If you’re hiring a pro, make sure you’ve got someone else on-site capturing lofi content.
The golden rule: Get more than you think you need. You’ll thank yourself later.
Step 5: Crafting a Post That Actually Works
You’ve got your content. Now let’s make sure it’s engaging. Here’s a simple framework for crafting a solid post every time.
The Hook (First 2 Seconds Matter!)
For videos: Start with movement, action, or bold text overlay
For captions: Lead with a strong statement or a question
Example: “Run, don’t walk, you don’t want to miss this.”
The Content (Make It Worthwhile)
Does it educate, entertain, or inspire?
Keep it concise and visually appealing
Make sure it aligns with one of your brand pillars
The Call to Action (Tell Them What to Do Next)
"Tag your brunch buddy!"
"Which dish would you try first? Drop a comment!"
"Limited spots available—book your table now!"
Before hitting “post,” make sure your content passes the ultimate test:
Scroll-Stopping Visuals – Does this grab attention? Would someone stop scrolling?
Brand Consistency – Does it match your restaurant’s vibe, colours, and overall aesthetic?
Engagement & Interaction – Does it invite comments, shares, or saves? Is there a CTA?
Audience Value – Would someone find this interesting enough to share?
Optimisation & Strategy – Is it formatted correctly for the platform, with the right hashtags, geotags, and caption?
If it doesn’t hit at least 4 out of 5, tweak it before posting.
Still Feeling Overwhelmed? Let’s Chat.
If this all sounds great in theory but you still can’t seem to keep up, we get it. Running a restaurant is full-on, and social media can feel like another full-time job.